

Hi everyone! We’re back with another miniature tutorial. This is the last miniature we are making from the three part series miniature craft from the Acts 2:46 project. We’re making a water jug out of glue and plastic and we can pour in some water! So let’s get started!
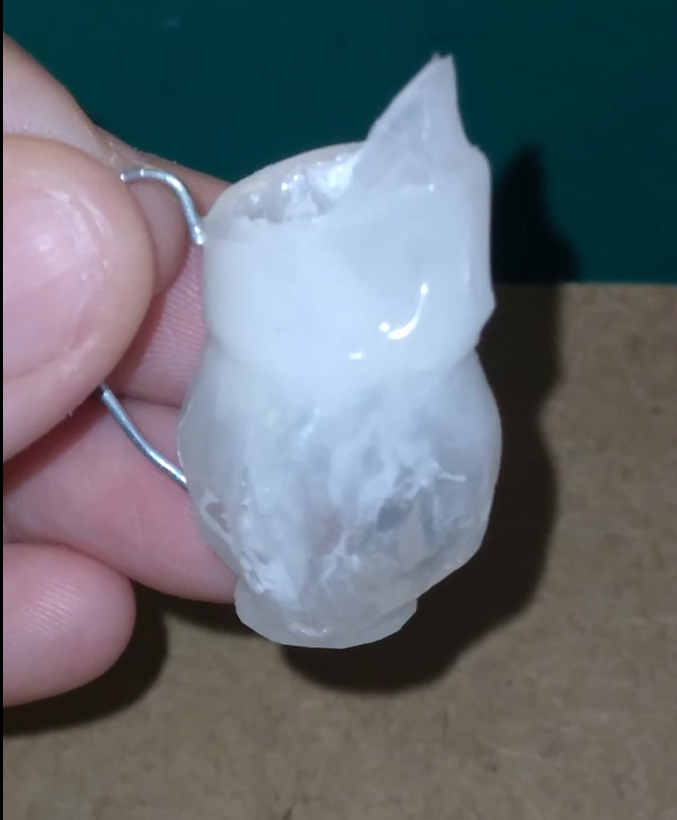
Gather your materials and Let’s get started
Tacky glue
1 paper clip
A piece of foam (any other material to put the paper clip)
Plastic (Any kind of plastic that you have around the house will do. For best result, you can use a binder plastic cover.)
2 pieces of paper: Measurement Size -- Length: 9cm Width: 6cm
Rubber band
Scissors
Wire Cutter Tool
Tweezers
Marker
Let’s Make Step-by-Step
First, set up the foam and paper clip. Poke plastic through the paper clip to catch the drippings of the glue.
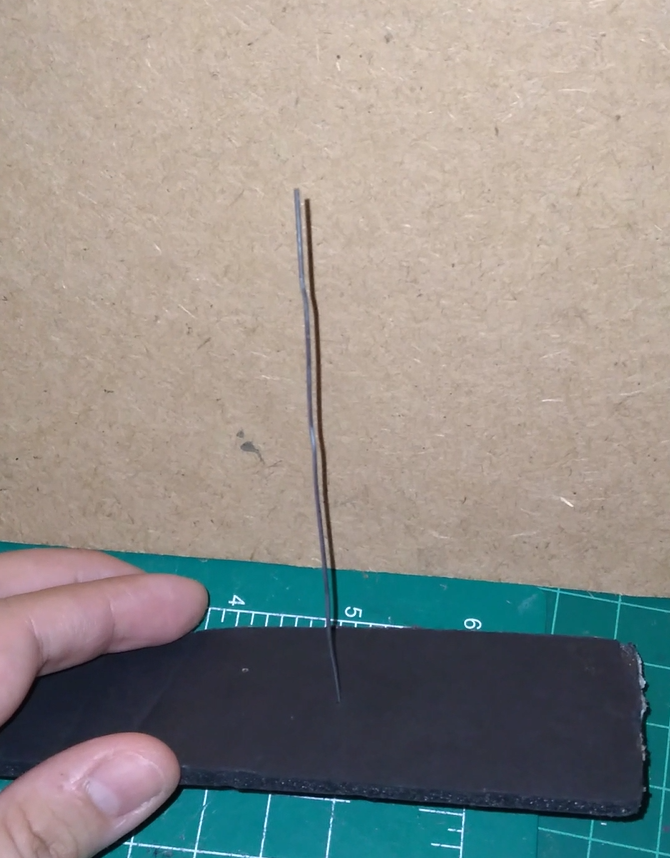
Crumble the piece of paper then place it on the paperclip.
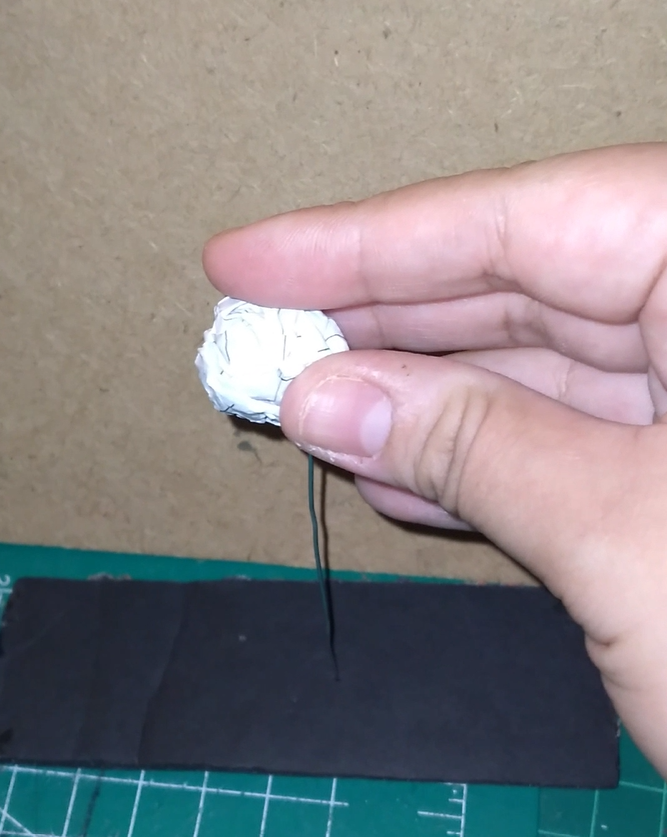
Wrap the plastic around the crumbled paper and tie it with a rubber band. Let the tack glue drip down onto the plastic underneath until the entire surface is covered.
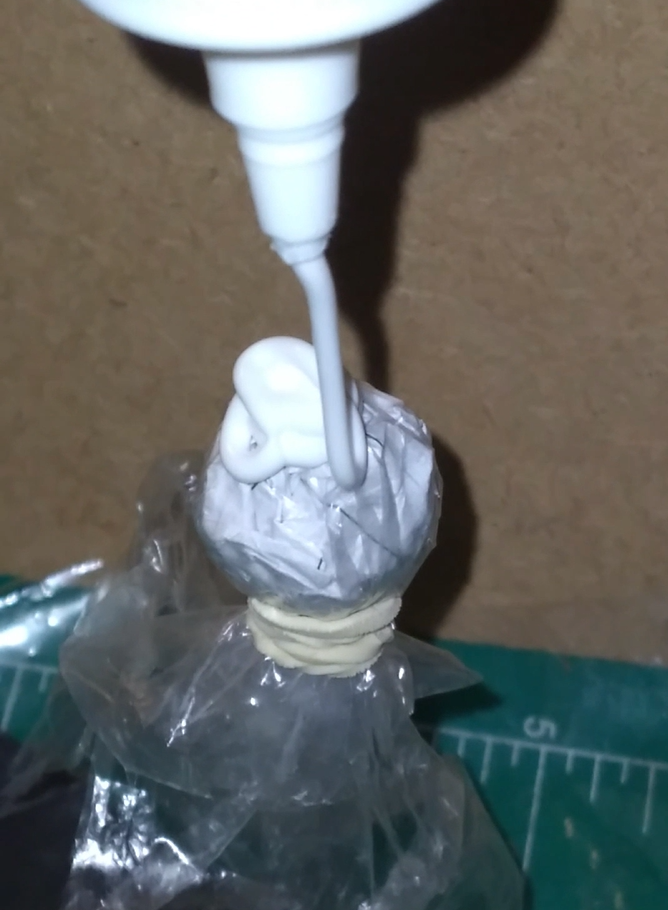
With scissors, cut off the remaining plastic sticking out of the jug all the way to the rubber band.
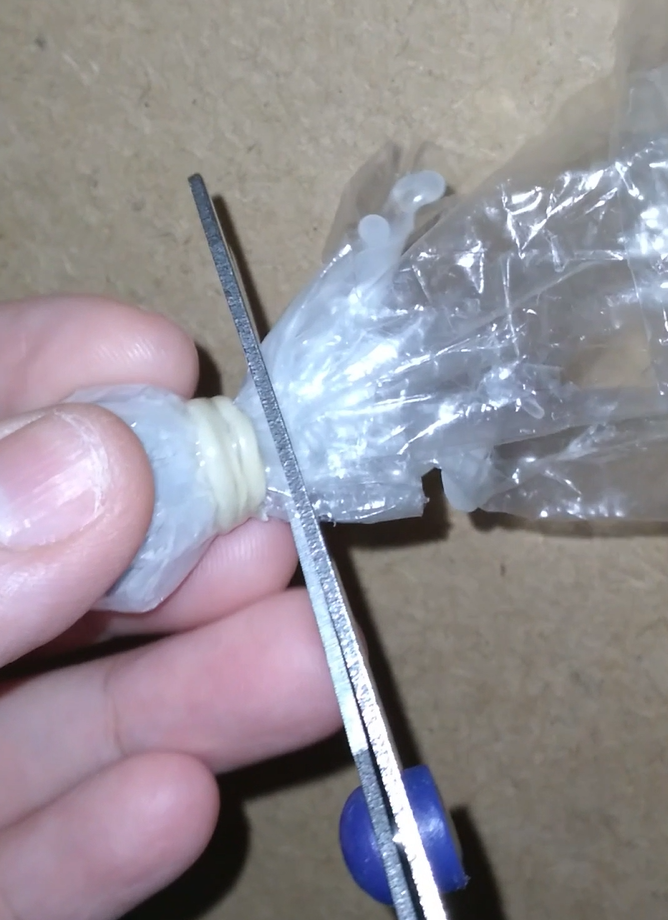
Remove the paper inside the jug with tweezers. You should be left with a dried out glue shell.
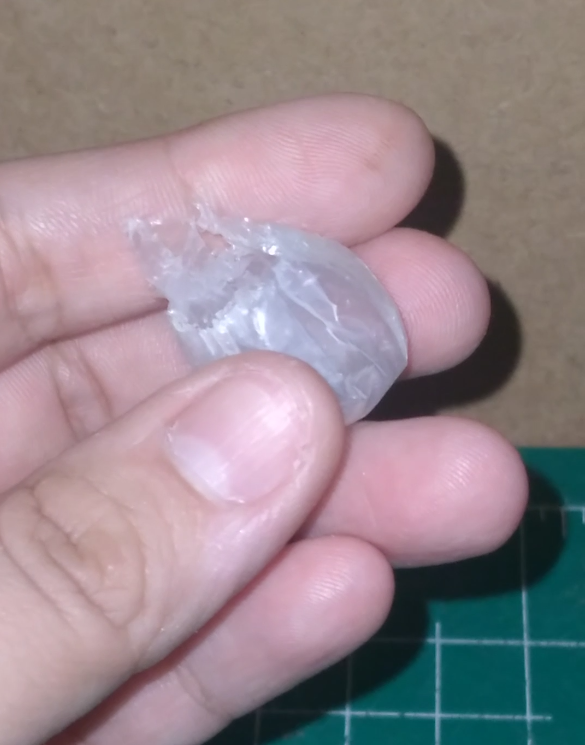
Repeat this glue process for the neck of the water jug. Let it dry overnight or wait 1-2 days.
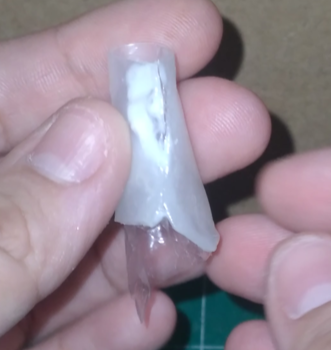
The neck of the water jug will need to have plastic that extends out to put inside the water jug. Put glue on the plastic and let the neck rest onto the water jug. Then cut the neck in half to leave like a beak like shape.
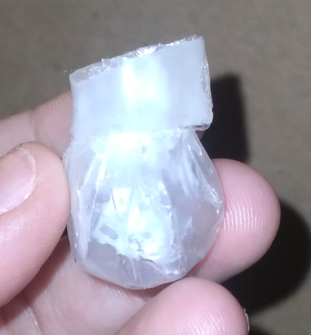
From the glue drippings that fall onto the plastic, cut out two dried out glue pieces for the spout and the bottom piece of the water jug. For the spout, we will need plastic to extend from the dried out glue piece to put inside the jug.
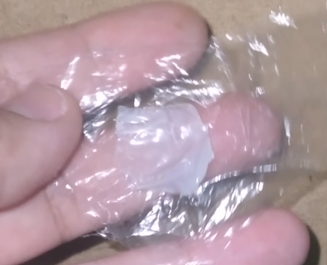
Bend the spout in half to insert the plastic with glue inside the water jug. Secure this part well so there is less water leak when you put water in.
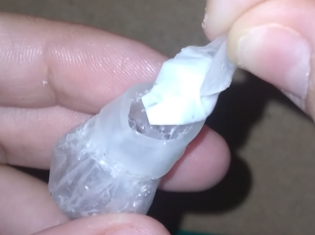
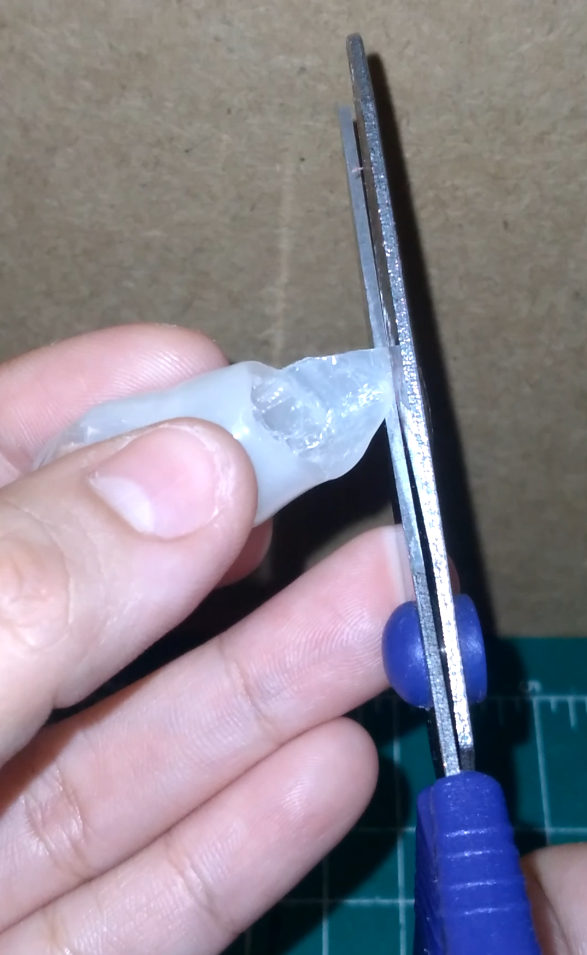
Cut the spout into a beak like shape so the water pours out smoothly.
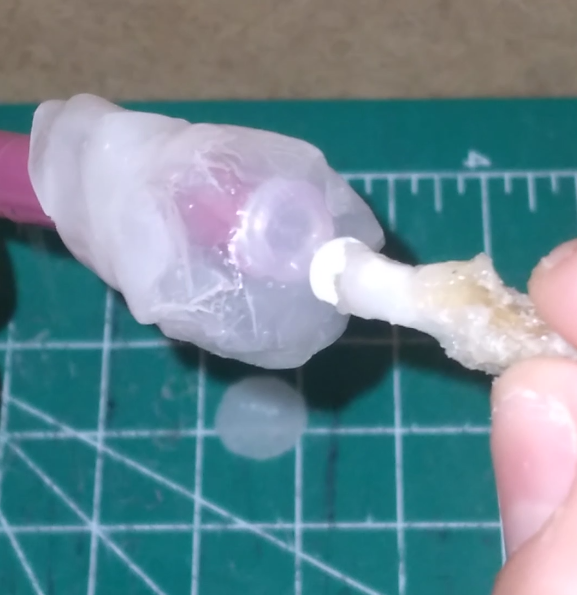
We are adding more tacky glue to close the seam between the neck and the jug.
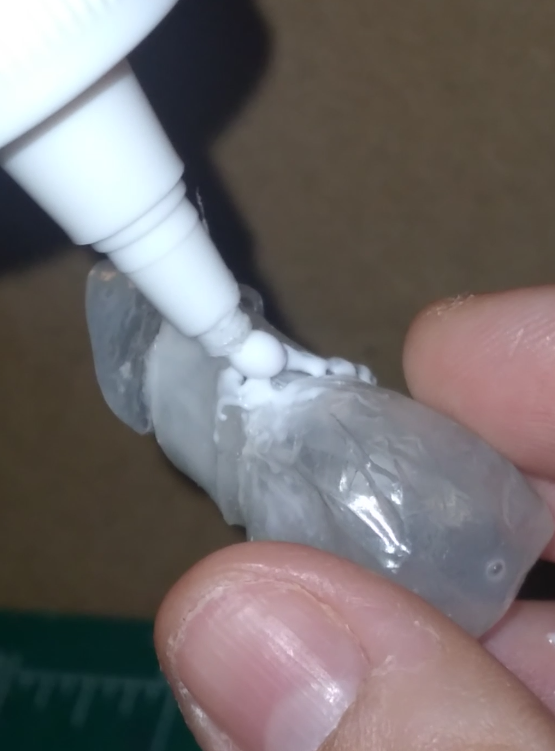
Add another layer of tacky glue and spread it all over the water jug to make it extra sturdy! Let it dry for 3-4 hours or overnight!
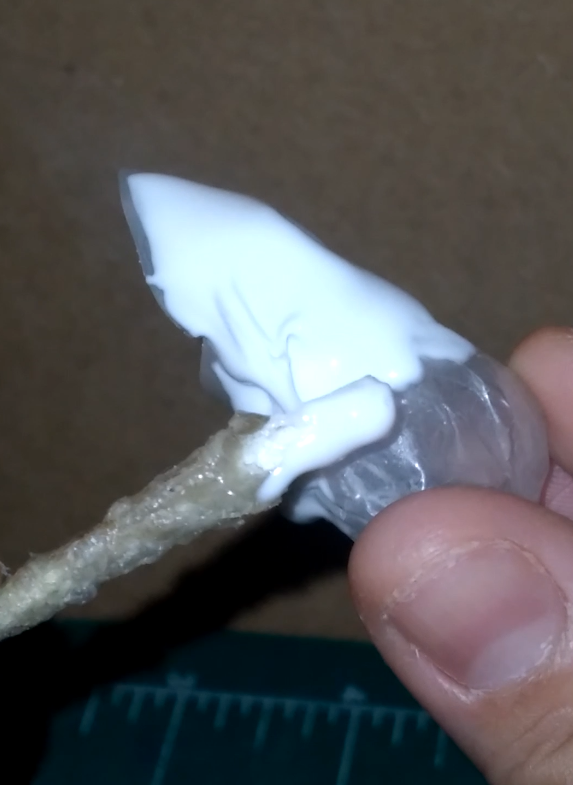
Take a leftover dried out glue piece to use for the buttom piece of the water jug. This piece doesn’t need plastic.
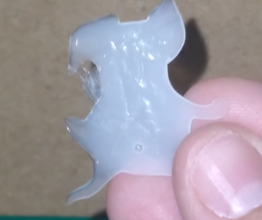
With a marker, make a circle outline onto the glue piece.
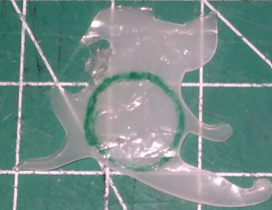
With scissors, cut out the circle outline to make the buttom piece.
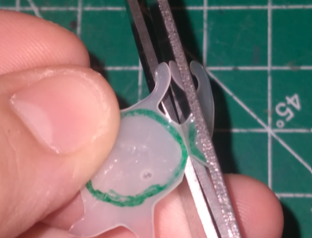
Glue the bottom piece onto the water jug to hold it upright.
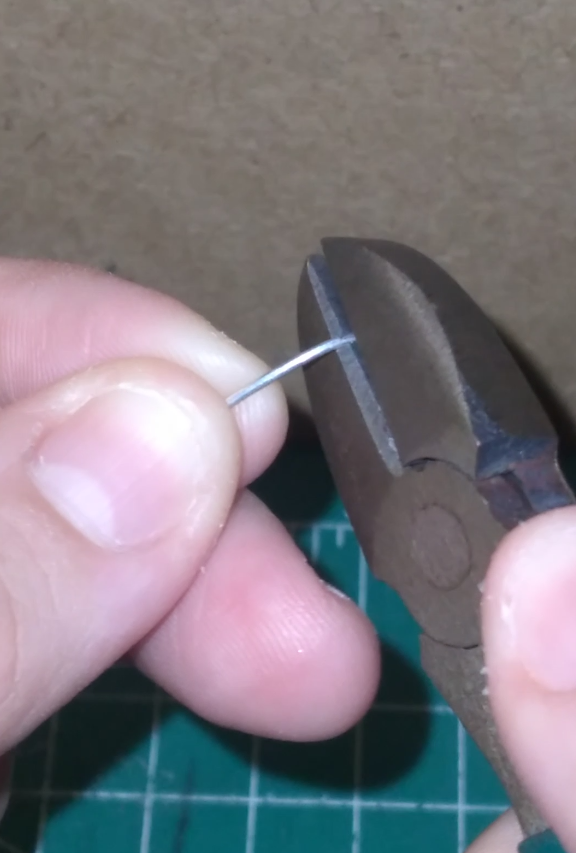
Take a wire cutter tool to shape the paper clip into a handle.
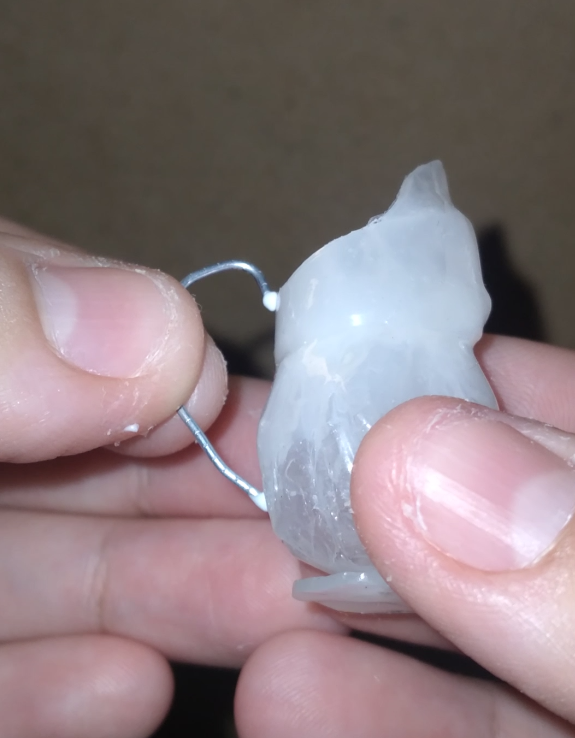
Glue the handle onto the water jug.
Moment of truth! Fill the water jug with water. If you glued the plastic inside the water jug well, it can last about 5 minutes before there is a water leak. This version of the water jug lasted about 3 minutes.
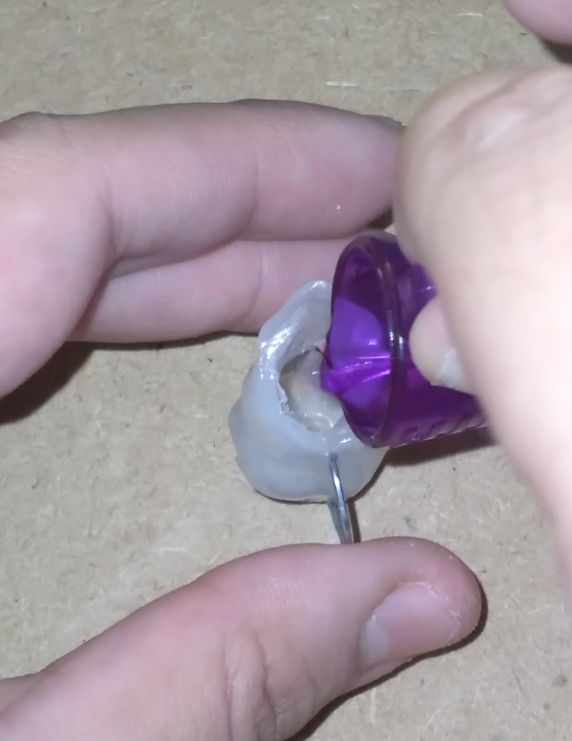
Pour your water into a mini cup. Overflowing living water!
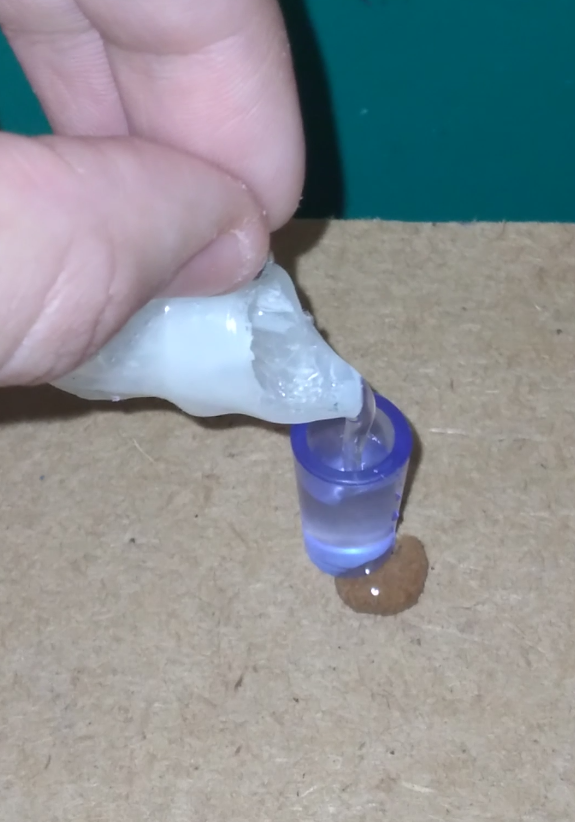
I hope you enjoyed making this water jug glue craft with me! I was so happy how the water jug came out the first time I made it and though it lasted several minutes to use and pour into cups, I loved being able to pour water into the jug.
